
How To Send Email in Laravel With SMTP
Once your Laravel project is up and running, it’s time to set up your email. This is all managed via the command line and there are a few simple steps to configure your SMTP settings and send a test email.
Step 1: Set SMTP Settings in .env File
First, you need to configure your SMTP settings in the .env file of your Laravel project. Open the .env file with a command line editor such as nano by running the following command:
nano .envYou can now add or modify the following lines with your SMTP server details:
MAIL_MAILER=smtp
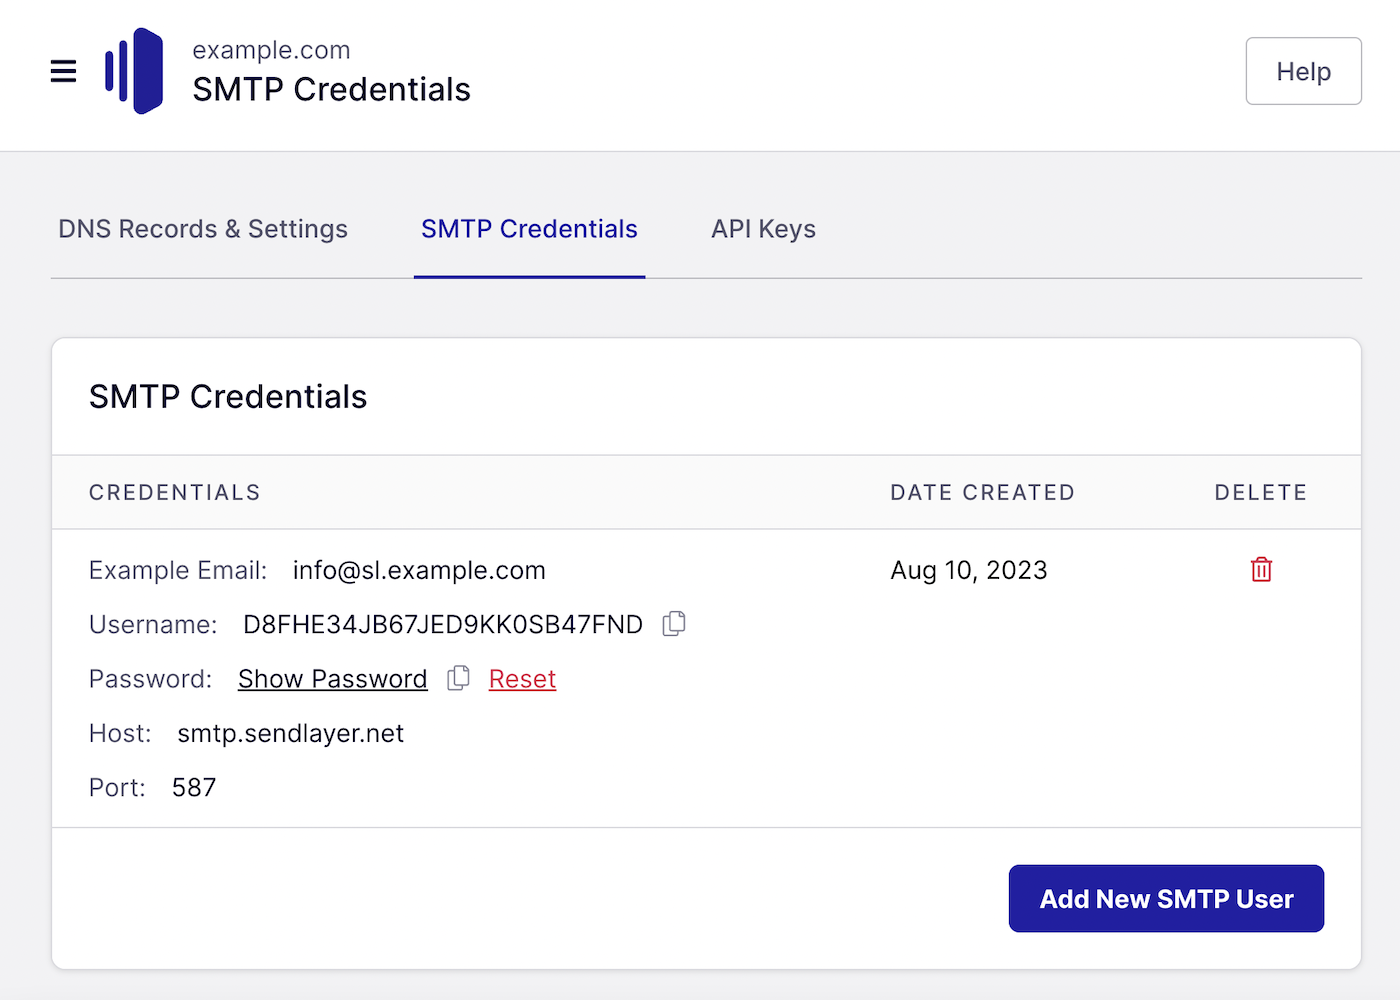
MAIL_HOST=smtp.sendlayer.net
MAIL_PORT=587
MAIL_USERNAME=your_username
MAIL_PASSWORD=your_password
MAIL_ENCRYPTION=tls
MAIL_FROM_ADDRESS=your_email@example.com
MAIL_FROM_NAME="${APP_NAME}"If you’re using SendLayer, you can find your SMTP credentials and copy and paste your username and password from your dashboard.
Once you’re finished editing the file, press CTRL + X to close the .env file and follow the prompts to save the file.
Step 2: Configure Mail Settings in config/mail.php
Laravel uses the settings in the .env file by default, but it’s a good idea to check the config/mail.php file to ensure it uses the correct values.
Open the file by running the command:
Nano config/mail.phpMake sure the file includes SMTP mailer config that looks like the following:
'smtp' => [

            'transport' => 'smtp',

            'url' => env('MAIL_URL'),

            'host' => env('MAIL_HOST', '127.0.0.1'),

            'port' => env('MAIL_PORT', 2525),

            'encryption' => env('MAIL_ENCRYPTION', 'tls'),

            'username' => env('MAIL_USERNAME'),

            'password' => env('MAIL_PASSWORD'),

            'timeout' => null,

            'local_domain' => env('MAIL_EHLO_DOMAIN'),

        ],
This references the environment variables set in .env so you shouldn’t need to make any edits unless you’ve already edited the config file to change the settings at some point.
Step 3: Create a Mailable Class
To send an email, you need to create a Mailable class. Run the following command to create one:
php artisan make:mail TestEmailThis command will create a new Mailable class in the app/Mail directory. Open the newly created file (app/Mail/TestEmail.php) with the nano editor and customize it to your needs.
For example:
<?php

namespace App\Mail;

use Illuminate\Bus\Queueable;

use Illuminate\Mail\Mailable;

use Illuminate\Queue\SerializesModels;

use Illuminate\Contracts\Queue\ShouldQueue;

class TestEmail extends Mailable

{

    use Queueable, SerializesModels;

    /**

     * Create a new message instance.

     *

     * @return void

     */

    public function __construct()

    {

        //

    }

    /**

     * Build the message.

     *

     * @return $this

     */

    public function build()

    {

        return $this->view('emails.test');

    }

}
Step 4: Create an Email View
Next, create the email view that will be used to generate the email content.
Create a file called test.blade.php in the resources/views/emails directory – this will be your new Blade email template.
You can create and edit the file directly with nano:
nano resources/views/emails/test.blade.phpOnce you’ve created the file, you can customize the following code to create your email template:
<!-- resources/views/emails/test.blade.php -->

<!DOCTYPE html>

<html>

<head>

    <title>Test Email</title>

</head>

<body>

    <h1>Hello!</h1>

    <p>This is a test email from Laravel.</p>

</body>

</html>
Quit nano and remember to save the file.
Step 5: Send a Test Email
To send the test email, create a route in routes/web.php:
use Illuminate\Support\Facades\Mail;

use App\Mail\TestEmail;

Route::get('/send-test-email', function () {

    Mail::to('recipient@example.com')->send(new TestEmail());

    return 'Test email sent!';

});
Remember to replace recipient@example.com with the email address you want to receive the test email at.
Step 6: Visit the Route to Send the Email
Open your browser and go to http://127.0.0.1:8000/send-test-email. If everything is configured correctly, you should see the message “Test email sent!” and the email should be delivered to the recipient’s inbox.
Let’s check to make sure we got the email:

Congratulations! You’ve now successfully set up SMTP email and sent an email in Laravel.
Bonus: Check the Email Logs
If you didn’t receive the email, you can check the Laravel email logs to see if you can identify the issue. These logs can be invaluable for troubleshooting problems if your emails aren’t sending or being received as expected.
You’ll find the logs in storage/logs/laravel.log.
Here you can easily see any error messages or just keep track of all the emails your Laravel website or application has sent.
FAQs
How can I customize Laravel email content?
You can customize the email content by editing the Blade template used for the email view. For example, modify the resources/views/emails/test.blade.php file to include your desired HTML content, styling, and dynamic data. You can also pass data to the view from the Mailable class’s build method.
public function build()

{

    return $this->view('emails.test')->with([

        'name' => 'John Doe',

        'message' => 'This is a custom message.',

    ]);

}
In your Blade template, you can use the passed data:
<p>Hello, {{ $name }}!</p>

<p>{{ $message }}</p>
How do I send emails asynchronously in Laravel?
To send emails asynchronously in Laravel, you can queue the email using Laravel’s built-in queue system. First, configure your queue driver in the .env file:
QUEUE_CONNECTION=database

Next, create the necessary database table for queues:

php artisan queue:table

php artisan migrate
Then, modify your Mailable class to implement the ShouldQueue interface:
use Illuminate\Contracts\Queue\ShouldQueue;

class TestEmail extends Mailable implements ShouldQueue

{

    // Your existing code

}
Finally, use the Mail::queue method to queue the email:
use Illuminate\Support\Facades\Mail;

use App\Mail\TestEmail;

Route::get('/send-test-email', function () {

    Mail::to('recipient@example.com')->queue(new TestEmail());

    return 'Test email queued!';

});
How do I attach files to an email in Laravel?
You can attach files to an email in Laravel by using the attach method in the Mailable class. For example, modify the build method in your TestEmail class:
public function build()

{

    return $this->view('emails.test')

                ->attach(public_path('/path/to/file.pdf'), [

                    'as' => 'filename.pdf',

                    'mime' => 'application/pdf',

                ]);

}
Replace /path/to/file.pdf with the actual path to the file you want to attach.
How do I customize the email subject line?
To customize the email subject line, you can use the subject method in the build method of your Mailable class:
public function build()

{

    return $this->view('emails.test')

                ->subject('Custom Subject Line');

}
Can I send emails to multiple recipients in Laravel?
Yes, you can send emails to multiple recipients by passing an array of email addresses to the to method:
use Illuminate\Support\Facades\Mail;

use App\Mail\TestEmail;

Route::get('/send-test-email', function () {

    $recipients = ['recipient1@example.com', 'recipient2@example.com'];

    Mail::to($recipients)->send(new TestEmail());

    return 'Test email sent to multiple recipients!';

});
What is the difference between Mail::send and Mail::queue in Laravel?
Mail::send sends the email immediately, while Mail::queue places the email on the queue to be sent later. Using Mail::queue is beneficial for sending emails asynchronously, improving the responsiveness of your application.
---------------------------------------
for gmail
MAIL_MAILER=smtp
MAIL_HOST=smtp.gmail.com
MAIL_PORT=587
MAIL_ENCRYPTION=tls
MAIL_USERNAME=ceo.10proxy@gmail.com
MAIL_PASSWORD=app_pass
MAIL_FROM_ADDRESS=ceo.10proxy@gmail.com
MAIL_FROM_NAME="${APP_NAME}"
--------------------------------------------
In Laravel, when sending an email using the Mail facade, you can specify both the recipient (to) and the sender (from). Here's how to properly set the recipient and sender for your email.
Example Code: Sending Email with Both to and from Fields
Explanation:
Mail::to($email): This sets the recipient of the email.->from($senderEmail, $senderName): This specifies the sender's email and name.->send(new YourMailableClass($details)): This sends the email with the specified data passed to theMailableclass.
Setting the Sender in the Mailable Class
Alternatively, you can define the sender's email and name inside the Mailable class itself. Here’s how:
Step 1: Modify Your Mailable Class
In your Mailable class, you can set the sender's email and name in the build() method:
Step 2: Create the Email View
In the resources/views/emails/test-email.blade.php file, you can create the HTML for your email:
Additional Customizations:
cc(): Add carbon copy recipients.bcc(): Add blind carbon copy recipients.replyTo(): Set a reply-to address.
For example, you can add CC and BCC:
Configure Default Sender in .env
If you want to set a default sender for all emails, you can do this in the .env file:
Now, Laravel will use this sender information for all emails unless overridden in the Mailable class or in the Mail::from() method.
This setup allows you to specify both the recipient and the sender for your emails in Laravel. Let me know if you need further clarification or additional customizations!
إرسال تعليق